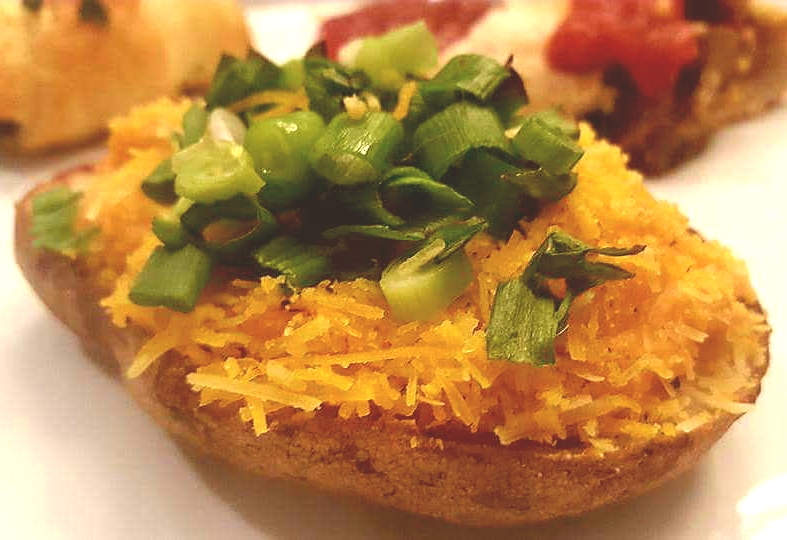
 Yield: 8 potato skins
This recipe is my response to a powerful craving for comfort food during a week that experienced the Las Vegas mass shooting, the death of a friend, the death of a friend’s aunt, and the death of Tom Petty.
Every month, we have gotten together with the Gelpis for two years and counting to cook back and forth at each of our homes, always with a theme. With comfort food this month’s concept, I was fantasizing about all kinds of naughty dishes like fried onion rings, Buffalo Chickpea Dip, potato skins, loaded tater tot nachos, and more.
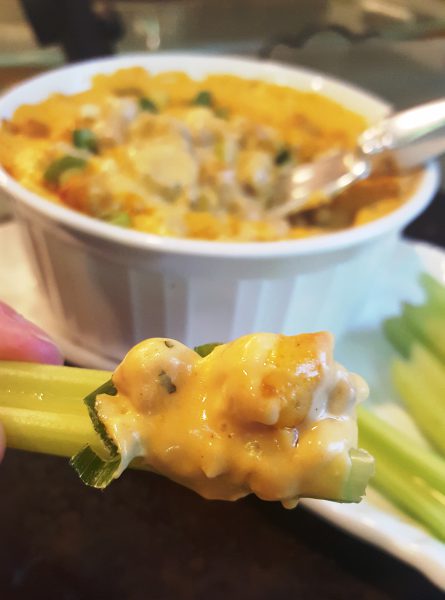
As the week drew to an end, I had reigned myself in, deciding to make vegan pigs in a blanket with a pepper jelly – ketchup dipping sauce and combining the dip and the skins into one best-of-both-worlds dish: Buffalo Chickpea Potato Skins. The Gelpis contributed a tasty vegetable pizza ring and a vegan apple pie, both with divinely crispy crusts.
Small servings, no seconds, and smarter choices than I was contemplating at the beginning of the week meant that I was very satisfied, but not stuffed and ashamed.
I could make a steady diet of these potato skins and hope you agree.
- 4 medium-small baking potatoes, scrubbed
- Nonstick cooking spray
- 1-15.5 ounce can chickpeas, rinsed and drained
- 1/2 cup hot sauce (such as Frank’s Red Hot)
- 2 tablespoons vegan butter, melted
- 1/2 cup + 1/4 cup vegan shredded cheddar cheese or cheddar cheese blend (I used So Delicious brand cheddar-jack blend)
- 1/2 cup vegan blue cheese or ranch dressing (I used Daiya brand, which makes both)
- 1/2 teaspoon garlic powder
- Optional: 1/2 to 1 teaspoon non-chicken vegetable soup base (semi-liquid paste)
- Freshly ground black pepper to taste
- 4 green onions, sliced
- Preheat oven to 400 degrees.
- Prick the potatoes a few times with a fork, spray potatoes lightly with non-stick spray, and bake until tender, about 1 hour. Lower temperature to 350 degrees.
- Let the potatoes cool slightly, cut in half lengthwise, and scoop out the flesh leaving about 1/8 inch shell. Place the scooped out potato in a large bowl.
- Spray the potato skins with nonstick spray and bake at 350 degrees for 10 minutes.
- Add all remaining ingredients to the scooped out potato flesh except 1/4 cup shredded cheese and the sliced green onion. Stir well, mash with a potato masher, and stir again until all ingredients are completely combined and the desired texture is reached.
- Divide potato and chickpea mixture evenly among potato skins, mounding attractively. Sprinkle with reserved cheese, dividing evenly.
- Bake for about 15 to 20 minutes or until heated through. (Shredded cheese on top may not look melted.)
- Garnish each potato skin with 1/8 of the green onions and serve immediately.


 So sorry I’ve been away for so long…
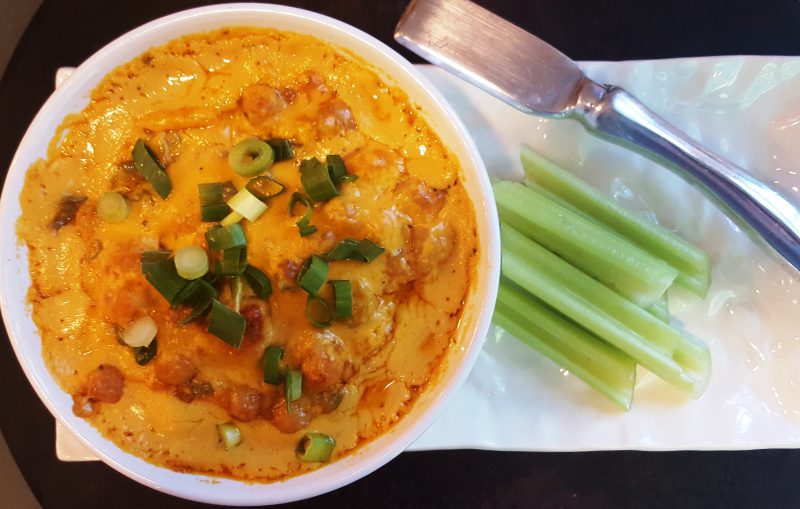 The main recipe I decided to veganize was quite basic: cream cheese, ranch dressing, grated cheese, hot sauce, and canned chicken. Another recipe I consulted also called for ranch dressing which I found puzzling since blue cheese dressing is the typical accompaniment to Buffalo wings. So, I was elated when I found Daiya brand blue cheese dressing and decided to substitute it.

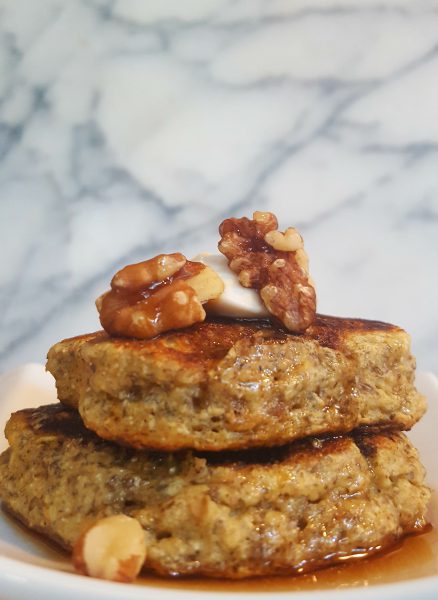
 Yield: 2 servings (easily multiplies)
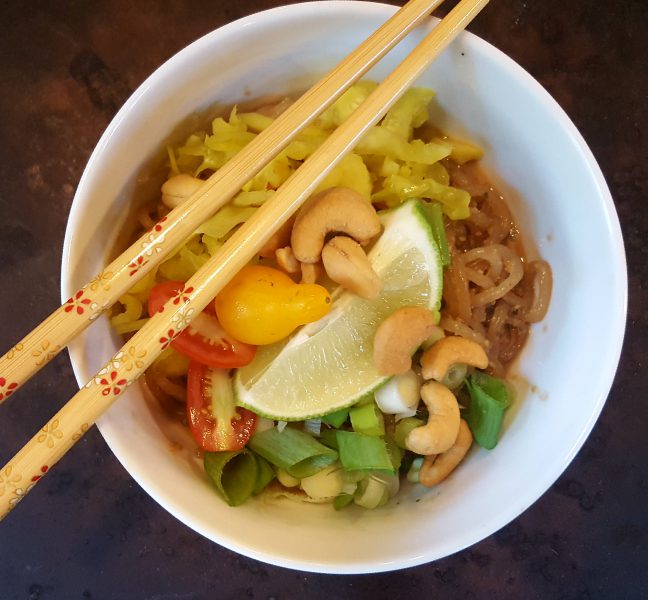
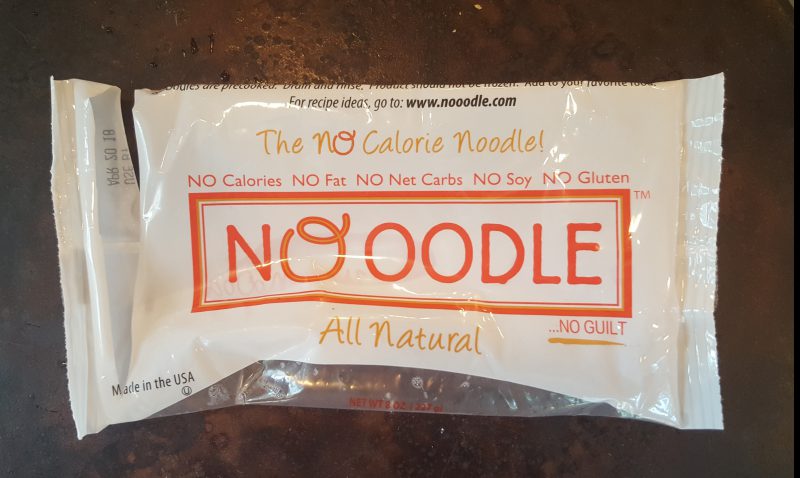 As for solving the problem of noodles and all of their calories, enter the amazing
  low
low

 Yield: 4 to 6 servings
 Yield: 6 to 8 servings
 Ah, vegan mayo. I love it so. But, alas, at 100 calories per tablespoon–sadly, no different than egg- and oil-based mayo–I don’t allow myself to indulge nearly as much as I would like. Or I end up having to log extra miles just to burn it up. Enter Blooming Platter Mayo which I created in 2010 for
 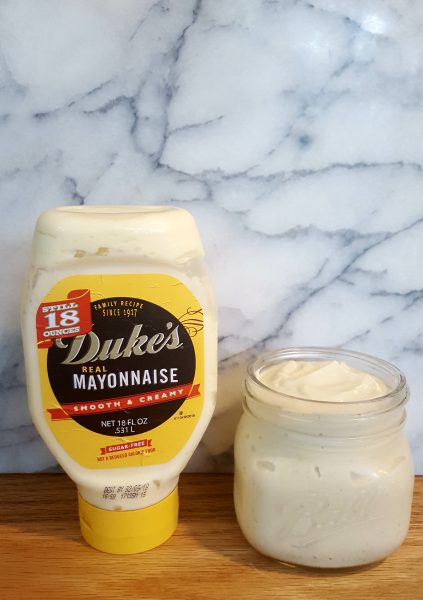 My dear omni friend, Allison Price, attests to keeping a container in her fridge at all times and I suggest you do the same. I love “Just” brand mayo, Vegenaise, and all the rest. But both the calories and the price tag are a bit too high for me.
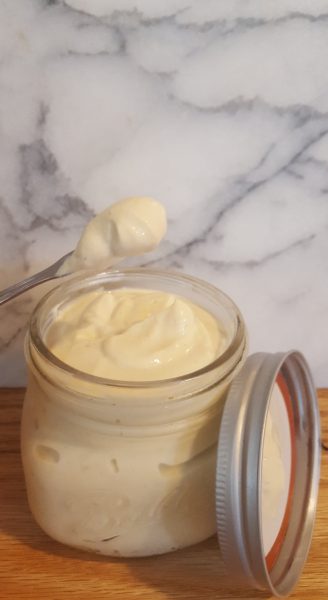 Blooming Platter Vegan Mayo

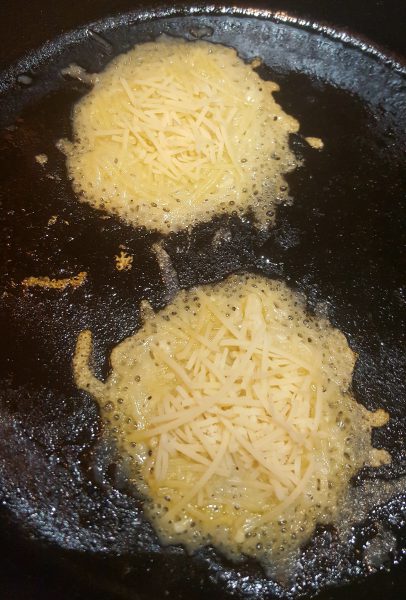
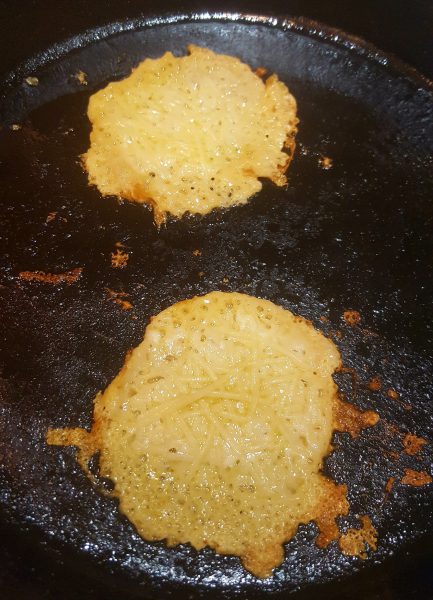
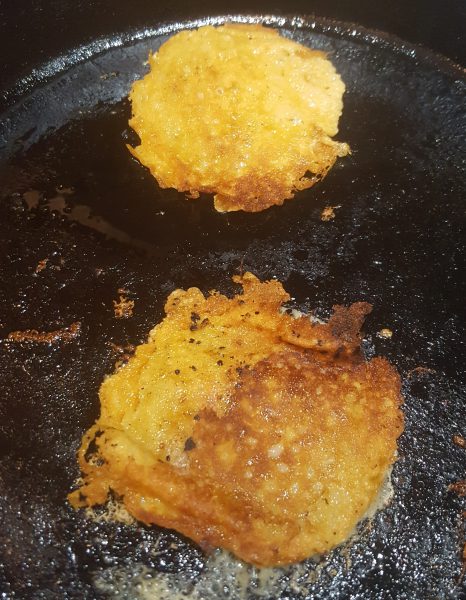
 Yield: 4 crisps (recipe easily multiplies, but they are rich)