Pringles Can Packaging–Perfect for Edible (Vegan) Gifts

Pringles Can PackagingI’m all about recycling, reusing, and reducing, so this idea of unknown origin–maybe Pinterest?–for packaging edible gifts really appealed to me.  It’s ingenious!

Not much of a Pringles fan myself, I taught a student last year with an obsession.  So, she would give me her cans when finished, which I would rinse before using, sometimes packaging food gifts inside food storage bags tucked into the cans or, in the case of cookies, just stacking them inside in a neat column.

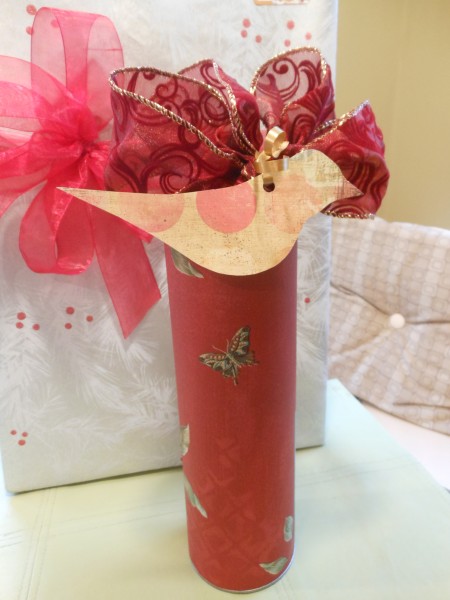
In need of such a can this morning, I found that I had one left over which I used for the gift depicted here.  Inside the wrapped Pringles can is Vegan Asian Chex Mix for Angela Phillips, one of the best yoga instructors around.  But anything cylindrical will work, e.g. coffee cans or, what my husband and I seem to generate plenty of:  cardboard oatmeal cartons and nut tins.

Be advised that, though scrapbooking paper seems ideal, it is not tall enough for a Pringles can.  So, use wrapping paper or even a wallpaper scrap as I did here.  To wrap, simply cut the length of paper you need (be sure to measure, as it takes more than you would think), secure one edge from top to bottom with cellphone tape, wrap the paper tightly around the can (I lay it down and roll it), and secure the opposite edge top to bottom with more tape.

Then decorate any way you like.  Wrapping ribbon around the can would be the easiest, but the lids aren’t particularly attractive, so I tied a bow and then taped the ends on the underside of the lid.  The bow is snugly secured when the lid is snapped onto the can.

The gift tag I made using card stock I had on hand–heavy weight scrapbooking paper actually does work well for this–and a bird template that I had cut to make bird ornaments.  You simply trace, cut, punch a hole near the back of the neck, write your message on the reverse, and thread ribbon through to tie it on to your package.

Never again be left with only expensive “specialty store” options for edible gifts from your kitchen!

“Tweet” Bird Ornaments–Very Simple and Very “Green”

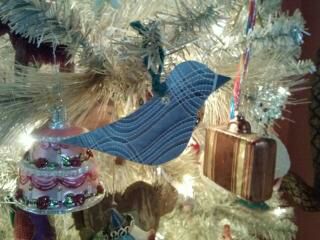
Bird OrnamentYesterday, I made “tweet,” I mean sweet little recycled bird ornaments for some friends who would be at a Xmas luncheon, and wanted to share my so-simple-it-is-embarrassing approach with you.  You still have time before Christmas and they would make great gift tags too.

Nowadays,  cardboard Kleenex boxes have the most beautiful patterns, so I purchase ones I love (even though they don’t show in the aluminum tissue box covers I put them in), and then save them once the last Kleenex is used.

Remembering I had some lovely ones in my paper drawer, I simply cut-out a bird template, traced it onto the inside (the non-patterned side) of the tissue boxes–flipping it over so that I had a front and a back–glued them together, weighted them to dry (next time I’ll try double-sided tape), trimmed any edges that didn’t match up, punched a hole near the neck, and knotted a piece of twine through the hole.  Done!  Everyone loved them, and they truly are charming.

The one depicted I gave to our host and hostess, Ken and Trish Pfeifer; Trish photographed it and sent it to me.  You’ll notice that it’s little beak is solid gray.  That was dumb luck!  That particular Kleenex box had a band of solid color around the edge and I just happened to lay the template on the backside so that it lined up perfectly.  But even if such things don’t happen, the results are still delightful.

Have a Happy DIY Holiday!

~betsy


Silverware Starburst Wreath–Perfect for a Culinary-centric Christmas!

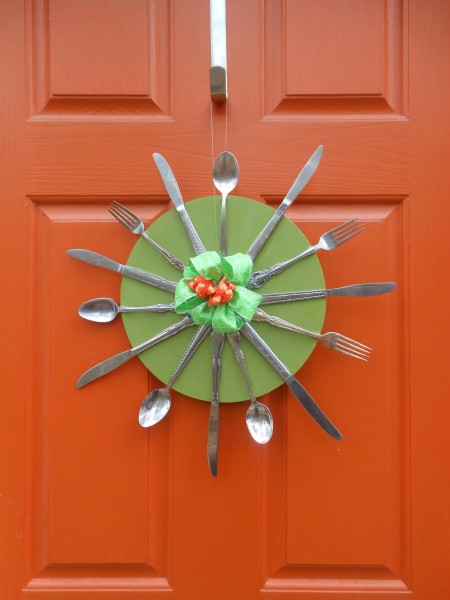
Starburst Silverware WreathFor the last three years–ever since my mother-in-law, sadly, passed away and we no longer receive an LL Bean wreath from her–I have made my own for my “DIY Décor” column in the “Home” section of the Virginian-Pilot.

The first year, I made it from a ceiling medallion I painted silver.  The second year, from paint stirrers, painted silver and dipped in apple green paint.

And this year from thrift store silverware glued (with E6000 adhesive) to a wooden clock face from the craft store painted green.

My projects are always simple, straightforward, stress-free, and pretty self-explanatory, mostly due to little time or desire to fuss around with things.  So, choose one–or adapt one–and make your own!

Happy Holidays!

Word Up! Wall Art Made from Wooden Tea Boxes

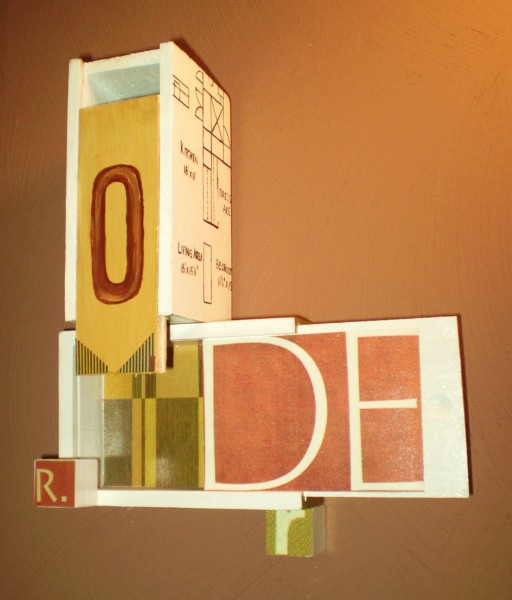
Order Wall ArtIf you are a tea drinker–it seems that veganism/healthy eating and tea drinking go hand-in-hand–and you happen to have a couple of wooden tea boxes in your possession, you are well on your way to making a simple piece of wall art!
If you also love words and have ones you live by–it is “order” for me!–then this project is perfect for you!  And perhaps you are fortunate enough to have an extra day this weekend in which to do it.

Get the skinny and easy how-to on this project in my column in the Virginian-Pilot, “DIY Decor.”

If you decide to put your “word up,” I would love for you to share your results!


Vegan DIY Decor: Fashion Accessory Repurposed as Wall Art

As some of you may know, I am privileged to write a monthly column for the Virginian-Pilot newspaper called “DIY Decor.”

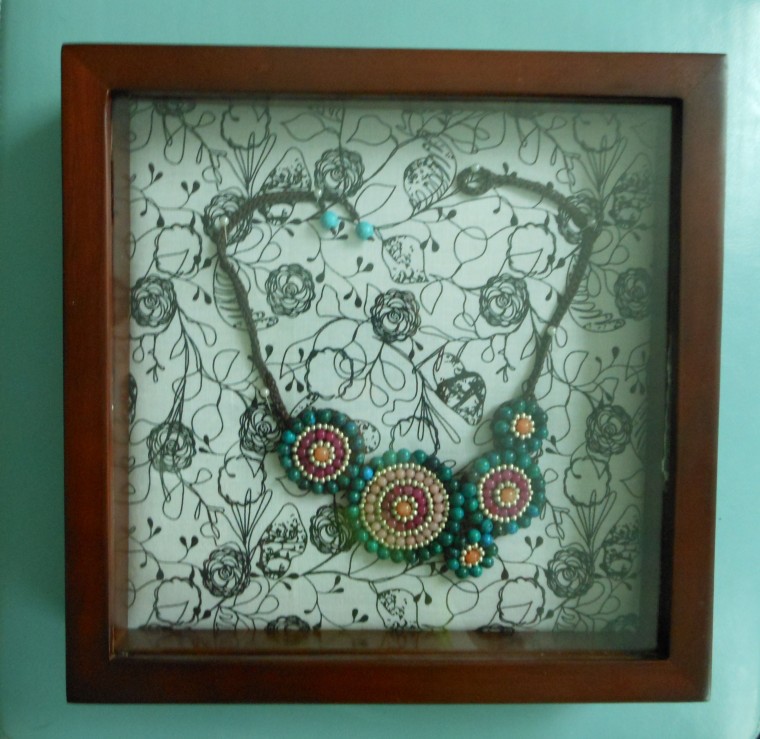
Always vegan, of course, these projects often involve repurposing items we all have in our homes.  I don’t always post them here, as they aren’t always published by Pilotonline and, hence, there is nowhere to link to, but they did pick up THIS ONE and I think you might love it!  (Click on the link or the image to go to the story for all the details and the how-to.)

It started with a necklace that a student gave me as a “thank you” at the end of the year.  I love it, but it is bold and I will probably wear it infrequently, so it ended up as a piece of wall art that I also love for my “girl cave” (upstairs den).  And, I can still access the necklace when I have just the right place to wear it.

Enjoy!

Related Posts Plugin for WordPress, Blogger...