 (To go straight to the recipe, please scroll down.)
At cocktail hour on Friday evening, the only thing that kept me from setting upon the ravishing vegan Spanish repast prepared by Juan and Barbara Gelpi for their daughter, Amalia’s, high school graduation party like an aunt at a picnic was a hot yoga class two and a half hours later. So, while I treated myself to only the tiniest tastes of most everything, including a little sangria, I felt completely satisfied when I left.
Since declaring this the Year of the Mini-Meal upon my husband’s untimely death in July, I prefer to eat this way anyway, letting my eyes consume what my stomach once did. And, besides, when I am less focused on devouring food, I can enjoy all of the other aspects of a party: the conversation, the setting and, in this case, a private mini concert by the brilliant and multi-talented Amalia accompanying herself on baby grand as she did dynamic justice to Nina Simone’s, “Feeling Good” before other guests arrived.
Juan, a surgeon, is of Cuban decent and, while everything he and Barbara cook is inspired, his deft hands may be particularly at home with Spanish and Cuban food, improvising with as much skill in the kitchen as Amalia does at the piano. Many new traditions have arisen since Joe died. One favorite is joining forces with the Gelpis every few weeks, alternating houses, to cook fairly technical, but relaxed, vegan meals together because we all really love cooking, not just tossing together a few ingredient. Paella, gumbo, pigeon pie, and crabcakes have been on recent menus.

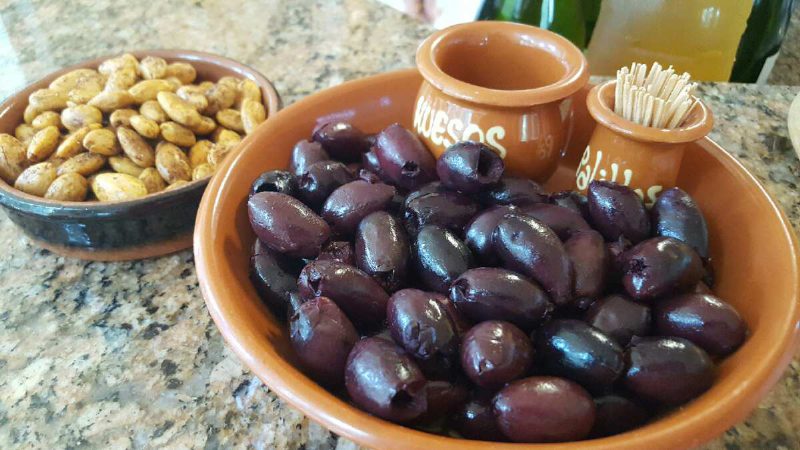
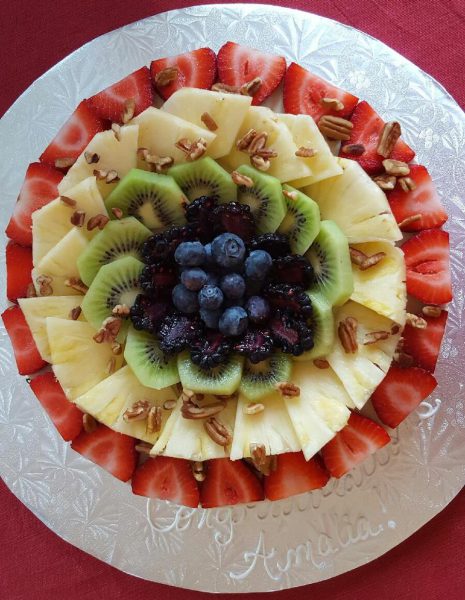
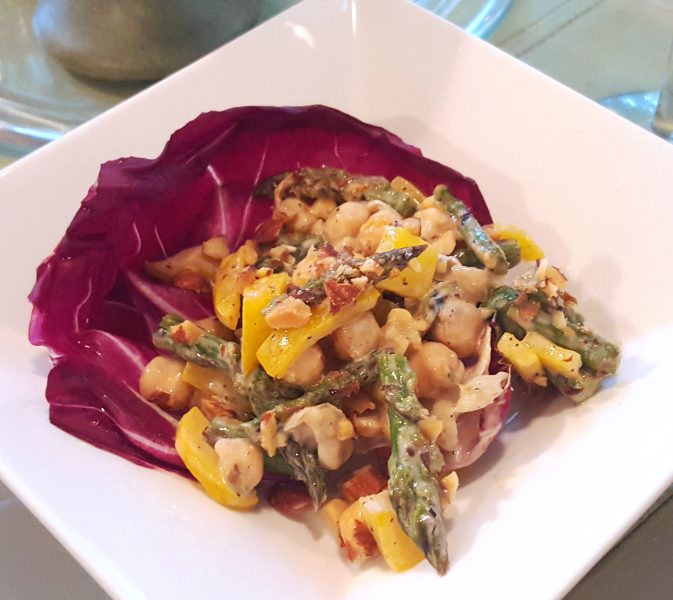
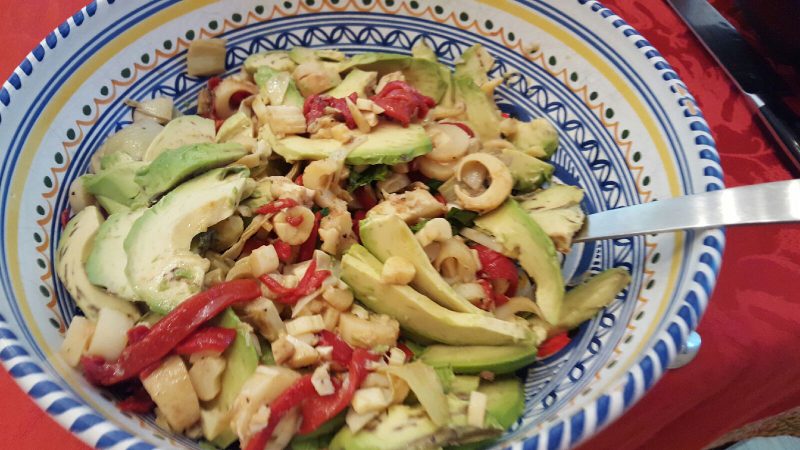 At last night’s party, golden sangria and desserts–Barbara’s silky chocolate pie, a cake, and a cheesecake topped with a glistening fruit pinwheel–were set out on the breakfast room table. Sliced and spreadable cheeses (all from Whole Foods), Marconi almonds roasted with paprika, three kinds of black and green olives, and a luscious white gazpacho lined the kitchen buffet. And a veritable groaning board of “meats,” salads, and savory pastries covered the dining room table (which is usually covered with beautiful quilts that Barbara, also a doctor, creates for charity): spinach and puff pastry squares; a carrot, an eggplant and chickpea, and a tomato salad; hearts of palm ceviche; roasted red pepper and goat cheese crostini; meatballs in a tomato-based sauce; chorizo (really cripsy on the edges like I like it); and two of Juan’s special potato tortillas made with Follow Your Heart egg substitute. Because families have been known to split over whether onion should be included in a tortilla, he made one each way.
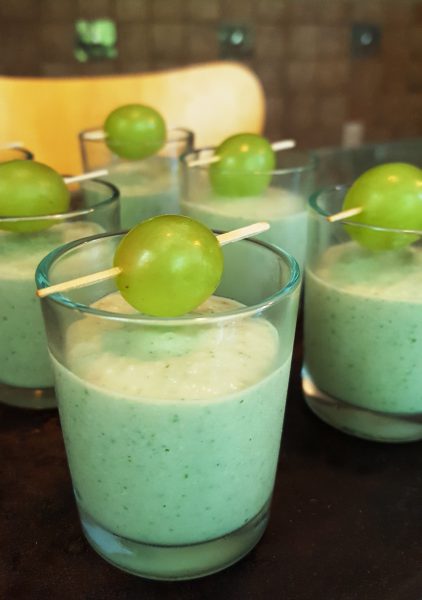
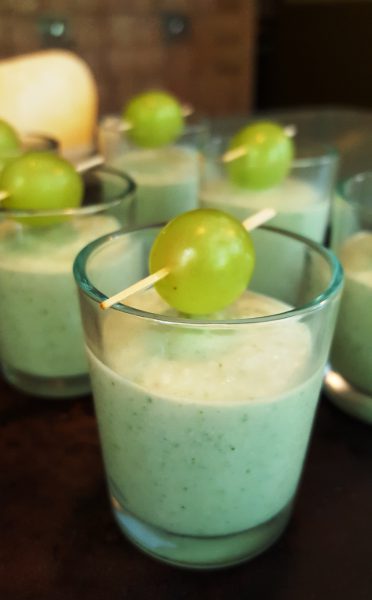
 I couldn’t begin to choose a favorite dish, though I had to steer clear of the ceviche as I am wildly allergic to avacado. (How cruel, right? Allergic to this staple of the vegan diet.) Pretty high on the list, though, was the little chilled shot glasses of white gazpacho served with green grape halves. In fact, I was so smitten that I purchased what I needed for my own version, based on Juan’s quickly recited list of ingredients, while on my Saturday morning post-yoga Whole Foods shopping spree.
In truth my “white” gazpacho is more of a pale spring green. One reason is that I can’t bear to remove the nutritious skin from most vegetables, so I left it on the cucmber. The other is that, though I had purchased fresh fennel for another dish, I used some of the licorice-y fronds in the soup for a beautiful pairing with the hint of sherry. By all means, if you want a nearly pure white soup, peel the cucumber and perhaps only use the fennel fronds as a garnish, or omit them entirely, though I love the flavor.
 This version of white gazbacho is made with soaked bread and my bread selection was based entirely on wanting to dip a little pretzel loaf in the cup of vegan lentil soup I purchased from the prepared foods bar at Whole Foods. But the remaining pretzel loaf was delectable in the gazpacho. Yet, virtually any plain bread would do. Just avoid breads studded with seeds, nuts, fruits, garlic, rosemary, and the like.
For the milk, I purchased unsweetened almond, as I wanted to play up the flavor of the actual almonds, which are also soaked add pureed into the soup. What I didn’t realize until I got home, though, is that I had purchased “vanilla” unsweetened. Afraid I had blown it, I tasted a little, and the vanilla was so barely-there subtle that I went with it. My thinking was that vanilla notes would be more appealing than sweet ones and I loved it. Regardless, be sure to use plenty of sea salt to awaken all of the flavors. The soup shouldn’t taste salty, but one of the secrets of restaurant food is adequate salt. Finding the sweet spot of just the right amount of salt makes magic out of the mundane.
In terms of processing the soup to pureed perfection, I didn’t time how long I let the motor run. But it was however long it takes to slip off to the ladies room, wash my hands, and return to the kitchen. Maybe 3 minutes?
This soup is so perfectly creamy, yet light, that a cup or bowl would not be too much. But it does look irresistably fetching garnished and served up in chilled shot glasses, arranged on a tray.
 Vegan White Gazpacho with Green Grapes and a Twist
Yield: approximately 8 cups
2 cups bread torn into bite size pieces
2 cups whole or slivered blanched, skinless almonds
2 cups unsweetened almond milk (believe it or not, vanilla unsweetened is just delicious)
1 large European seedless cucumber, peeled or unpeeled and cut into 2-inch chunks (I prefer unpeeled)
1/4 cup fennel fronds and tender stems
2 large cloves garlic, halved (use roasted garlic if you prefer less pungency)
1/4 cup dry sherry (you can begin with less if you’re not too sure abou the shrry)
1 tablespoon apple cider vinegar
Plenty of sea salt and freshly ground black pepper to taste
Garnish: finel chopped fennel fronds and green grape halves
Place bread and almonds in a large bowl. Scald milk in a saucepan on top of the stove or heat for 2 minutes in the microwave and pour immediately over bread and almonds. Let soak for an hour, pressing solids down into milk every so often. At the end of the soaking time, place cucumber, fennel, garlic, sherry, vinegar and a large pinch of sea salt and pepper into the bowl of a food processor. Process for a couple of minutes, scraping down sides of the bowl as necessary, until smooth. Add bread, almonds, milk, and another pinch of salt and pepper and process for about 3 minutes, again scraping down sides of bowl as necessary, or until very creamy and smooth. Taste and adjust seasoning. Be sure to add plenty of salt to amplify the flavors, though the soup shouldn’t taste salty. Garnish with finely chopped fennel fronds, if desired, and green grape halves. If serving in a shot glass, I like to spear a grape half on a cocktail pick and rest across the rim of the glass.

 Yield: 2 servings (or 1 big one if you are really hungry and in need of hydration)
 Yield: 4 to 6 servings
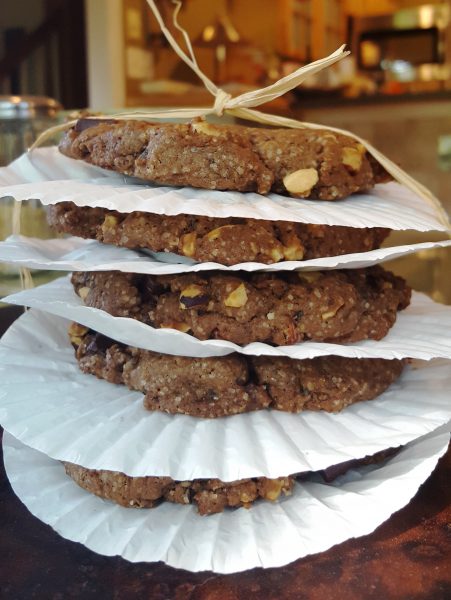 Yield: 8 very large cookies (about 4 1/2 inches in diameter)
 First, though, she had to pose with the wrapped stack of them on her head like a yogi crown. To package, I simply placed each cookie on a large muffin liner, stacked them, and tied them, wrapped them with plastic wrap, and tied it with raffia before slipping them inside a gift bag.

 (For the Recipes, scroll down about half way to the links.)
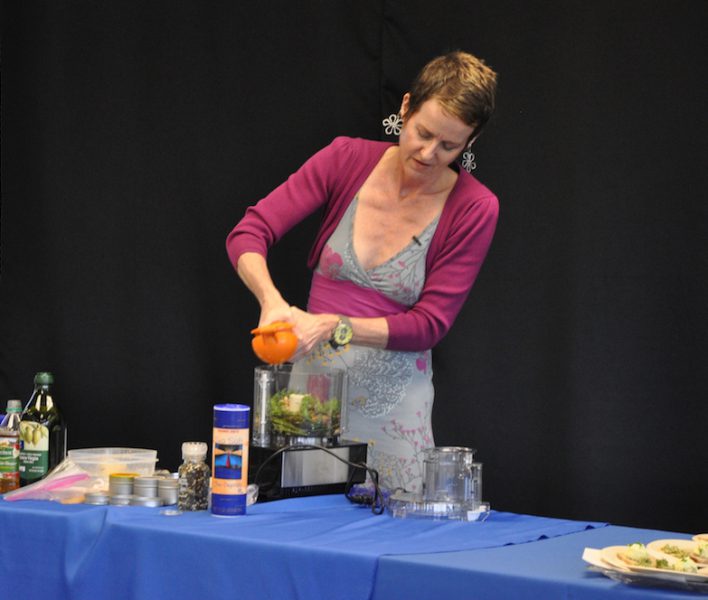
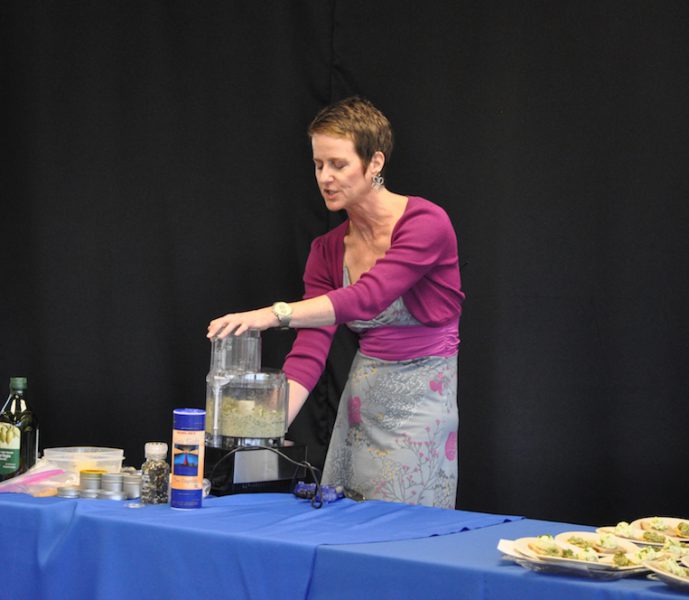 The demo took place on a stage in a meeting room, supported by a cracker jack AV team, for the hour just before lunch, so I didn’t want to prepare anything sweet or that would conflict with their tasty vegan bento boxes from
  I am similarly gratified that my demo was so well-received. One of the staff members shared that they have presented many of these and that they are often “dry,” but that mine wasn’t. I have to admit that I was a bit relieved, as I had come down with a fever after school on Thursday, worked Friday still with a fever because progress report grades were due, rallied to grocery shop and prepare ingredients Friday night (missing my beloved candlelight yoga class) and half a day Saturday. Afterwards, I drove straight home, climbed into bed and stayed there until Monday when my fever finally broke.
 Yield: approximately 1 cup
 Speaking of Whole Foods’ values, the June 2016 issue of
  Roasted Middle Eastern Carrot-Beet Spread
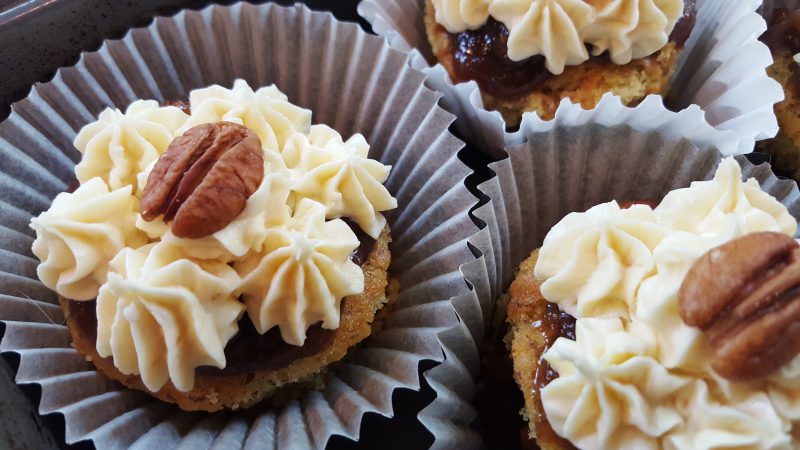 Yield: 8 mini-cakes (2 1/2-inch diameter)
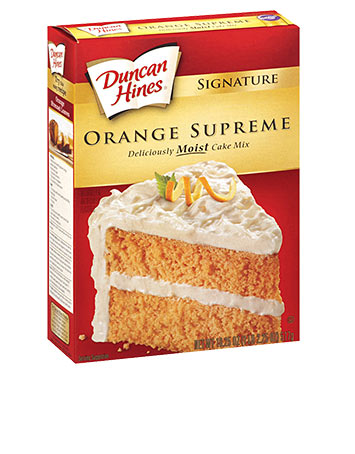 The recipe starts with a boxed cake mix because that’s how I got my start baking. In those days, there were no canned frostings, but rather boxed mixes as well, and I recall them as being superior. Still nothing beats homemade frosting which is what I include here along with my simple-as-pie, to mix my metaphors, homemade caramel.


 (A sequential installment from Kim Hastings, my photographer friend and, along with her vet husband, owner of Independence Veterinary Hospital, who decided on her own to cook her way through
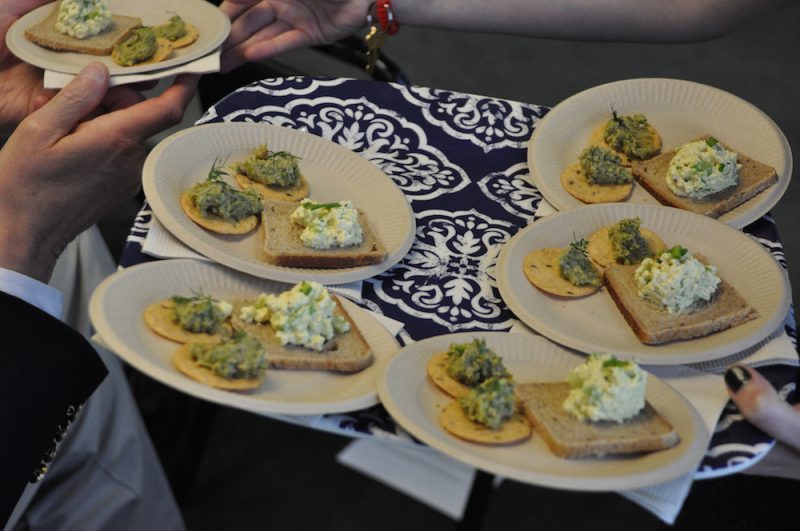
 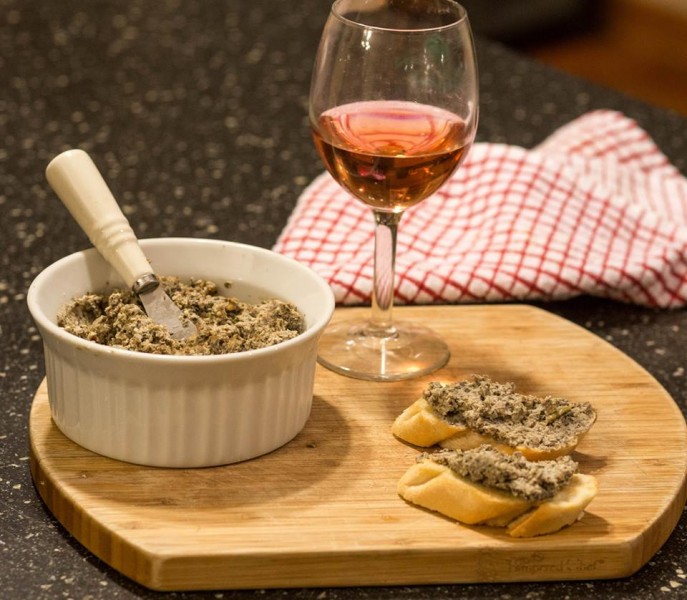 The appetizer I chose was Sherried Mushroom Bruschetta. I have been looking forward to trying this recipe for a while – it sounded so good! I loved putting this together with the obvious exception that I had to use my dumb food processor. Later in the evening I did learn that silken tofu is different than the refrigerated tofu I used but no matter – I think it came out great. [Betsy’s note: it was perfection!] I got a bit heavy handed with the red pepper flakes but no one seemed to mind. My son only had a problem with the gray color but once he tasted it, he was sold.
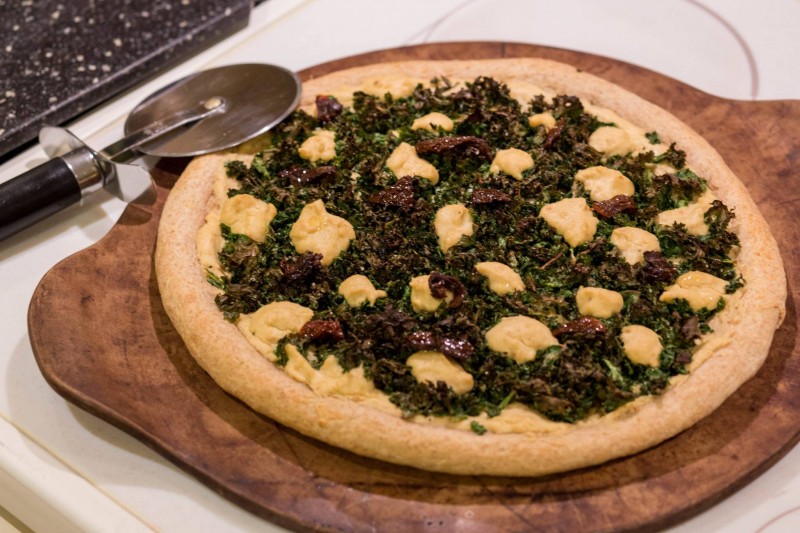
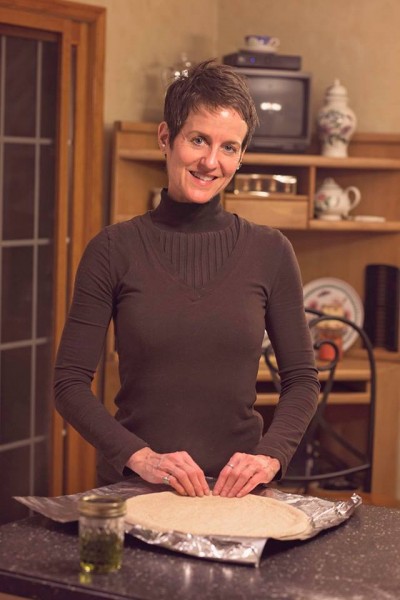 When the dough was done rising, she showed me how to press it out by hand into a circle. Then we prepared the pan to sauté the kale – I forgot to turn the burner on but that was the only glitch. We put the pizza together and got it into the oven. Then we got to just hang out, she met my turtle, Desiree, and we went outside to check out my herb garden. My dog Allie was already her best friend at this point. Before long the pizza was out of the oven and ready. We took some pictures (of course!) and then served it up.